3rd Prototype (Final Design)
Learning from the previous iterations, we focused our efforts on creating a new iteration that incorporates gamification and versatility. Our team decided to design a "battlebot" that comes equipped with various "weapons". This concept allows students to unleash their creativity and design their own unique "battlebot" or other types of robots, as instructed by their educator. This prototype also emphasizes a base Curio design that consists of the slot for the device and the attachments, promoting a modular design approach.
Final Design
We have chosen this prototype as the final design for the exhibition based on careful consideration of its features and trade-offs. We believe that this design strikes the best balance between addressing the needs of our client and Curio designer, while keeping the robot's complexity in check. Moreover, we have added gamification and versatility to the design, making it more engaging and appealing to end users. Overall, we are confident that this prototype achieves our goals effectively and efficiently. Our exhibition writeup can be found here.
Design Thinking
The "Empathize" section is mentioned in the 1st prototype page. "Define" and "Ideate" is mentioned at the previous section of this page.
Prototype (Sketches)
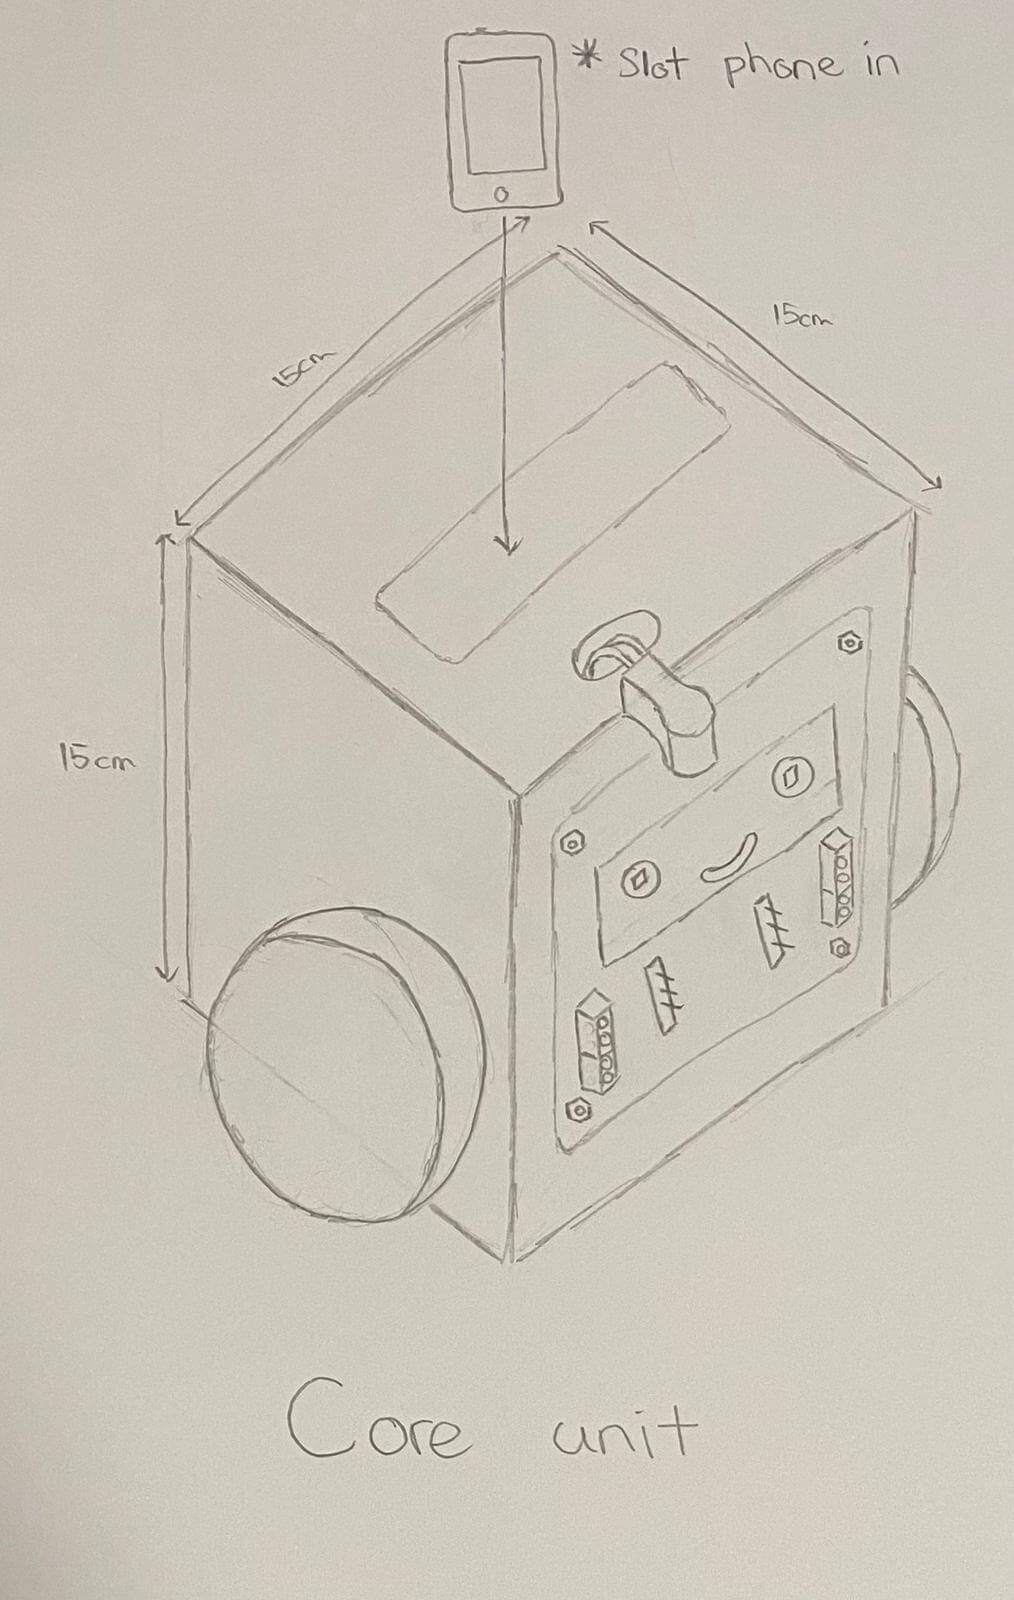
Core Unit:
The core unit is a compact box where a phone can be sloted inside it. The smartibot control board acts as the front ("face") of our car. Cramp was not needed anymore as the slot can hold the phone securely without it.
Attachments:
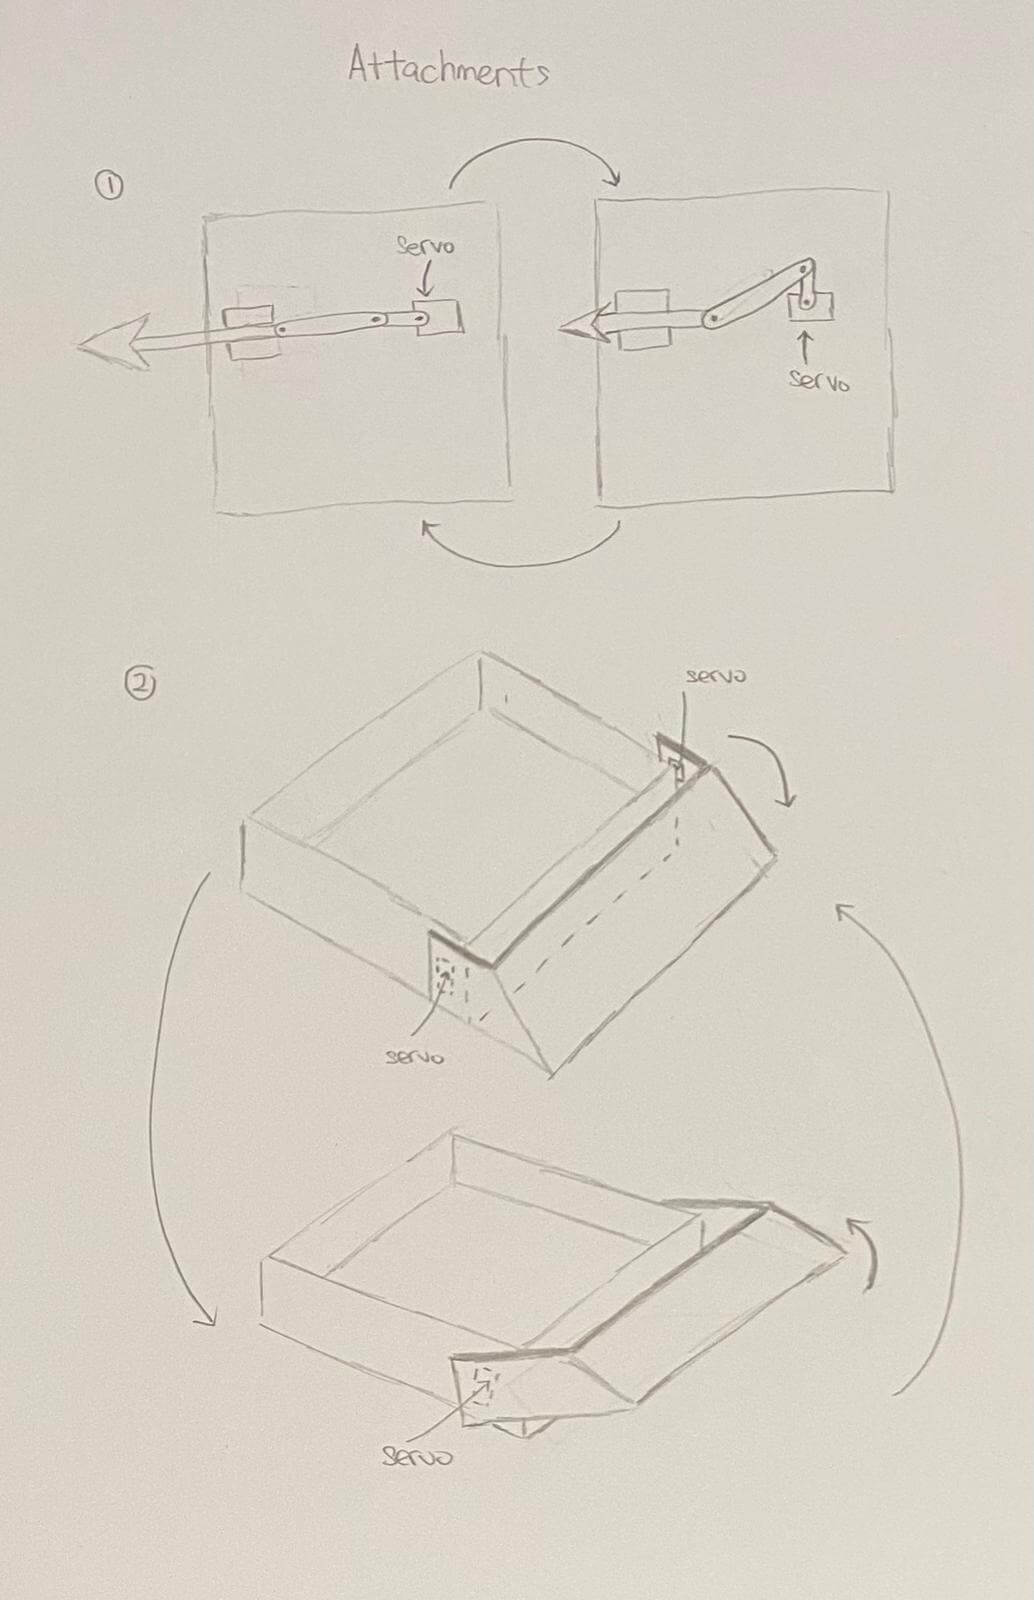
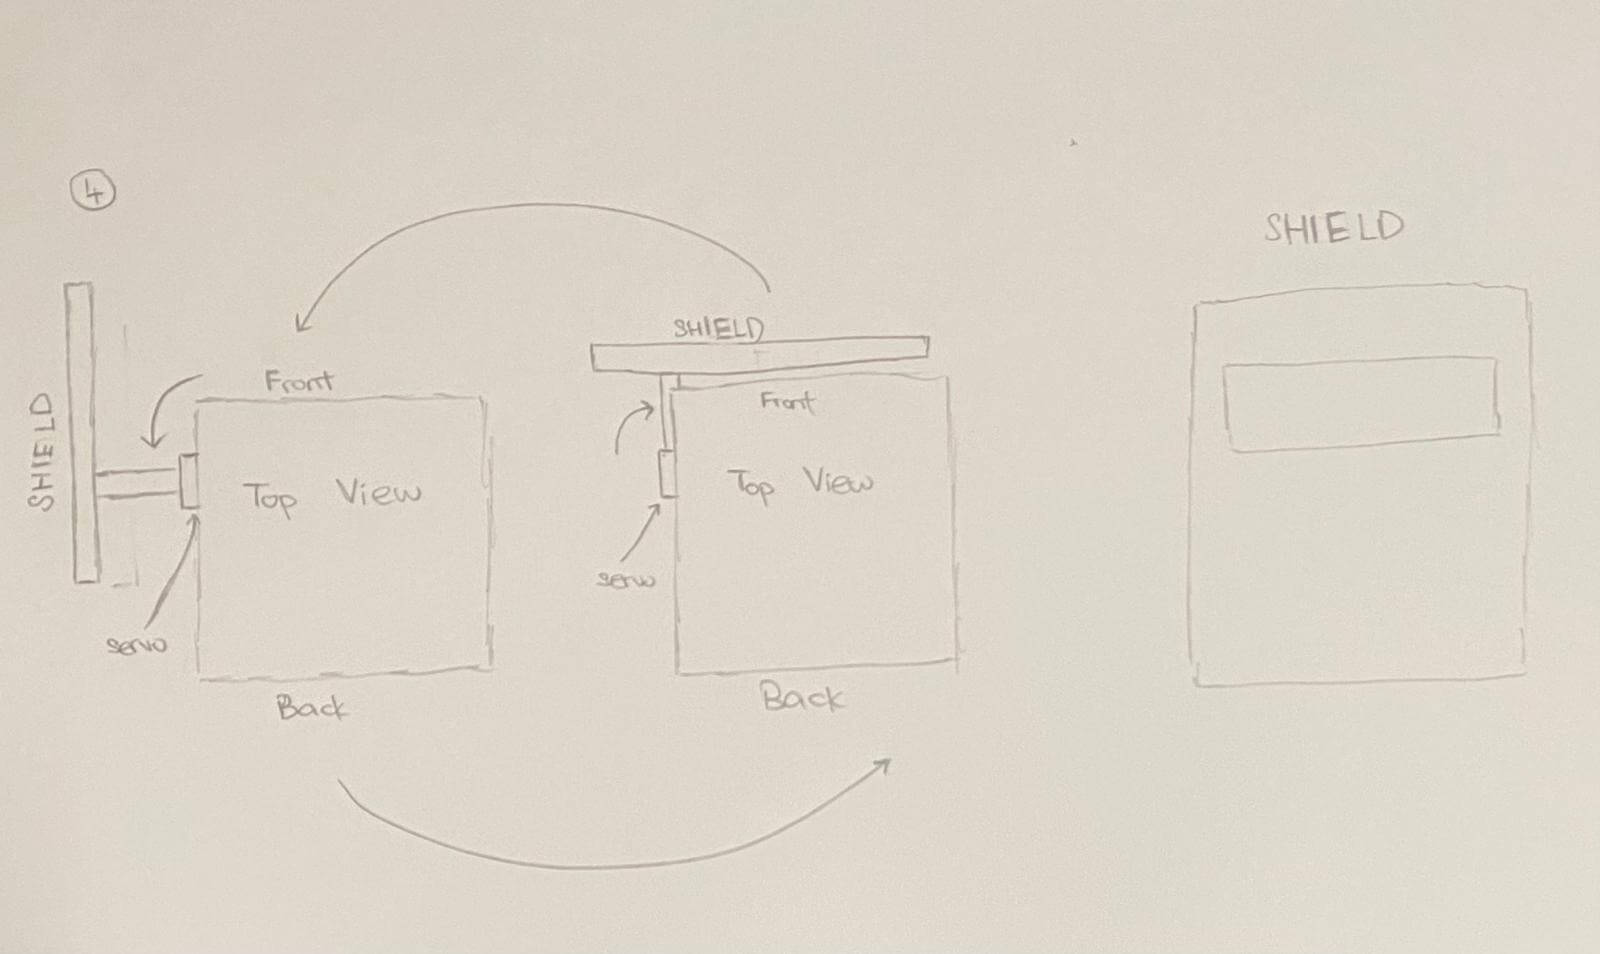
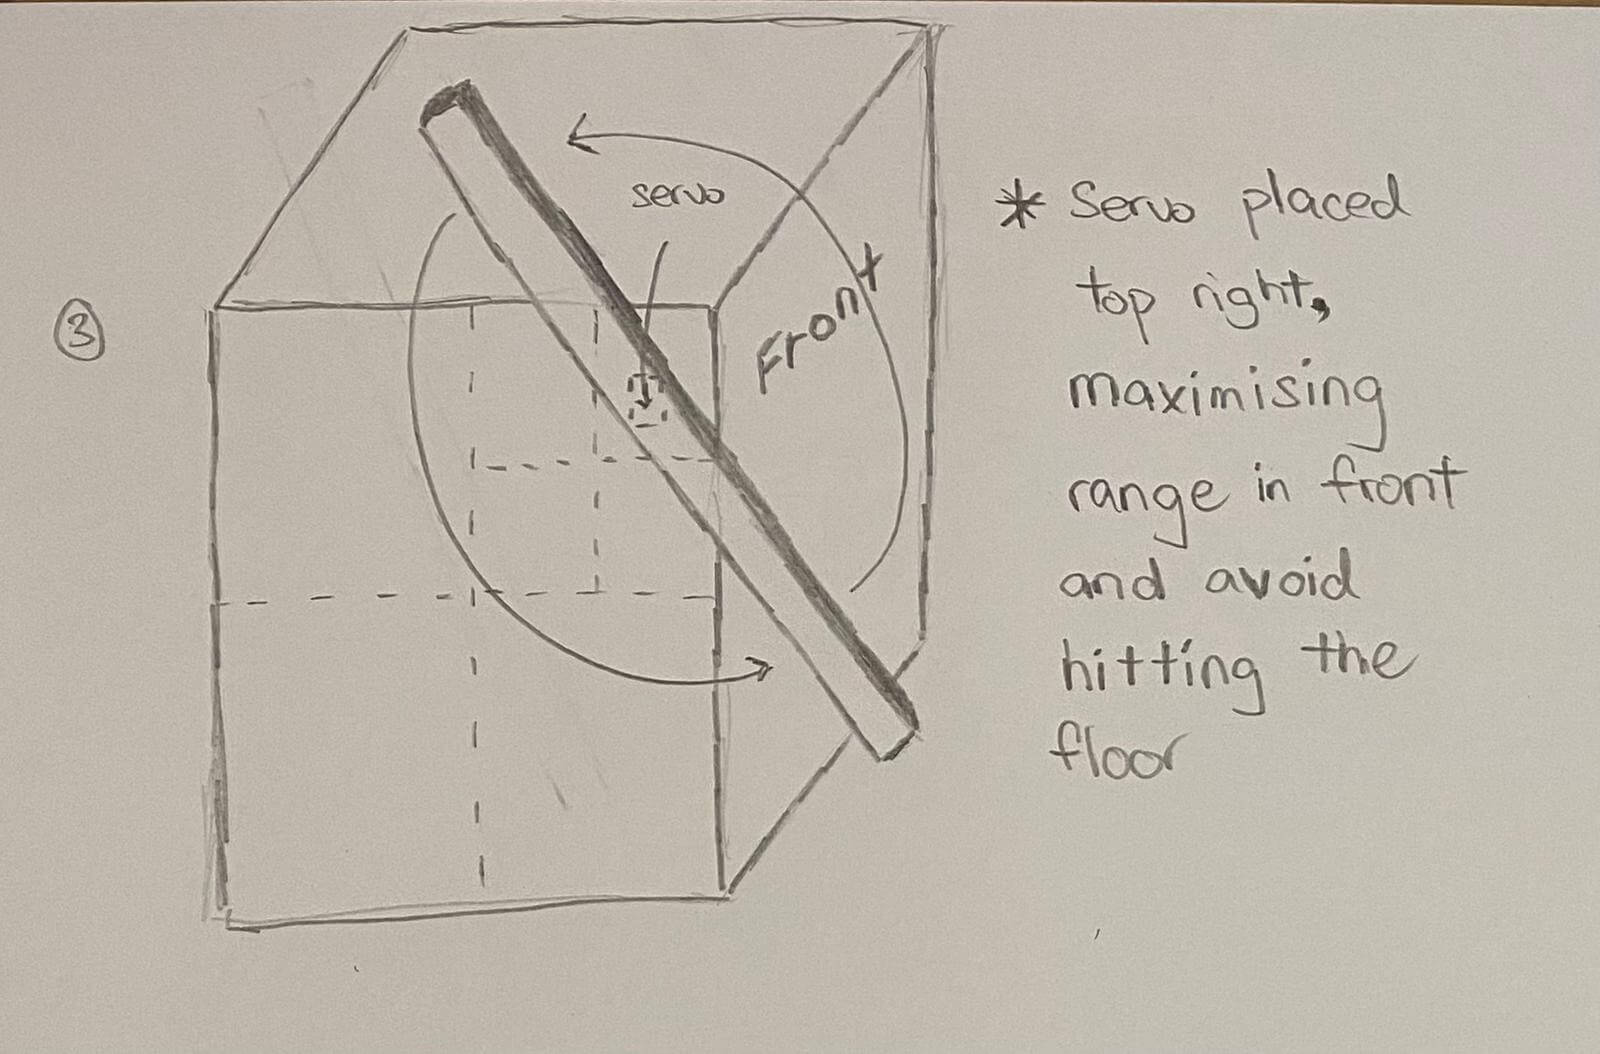
We have developed several attachments that can be connected to the core unit as part of the "battlebot" design. For instance, we have created a knife and shield that can be controlled by the smartibot control board using a servo mechanism. These attachments offer students the opportunity to personalize their "battlebot" and engage in exciting battles with their peers.
Test
Guide
The guide to build the battlebot can be found here.
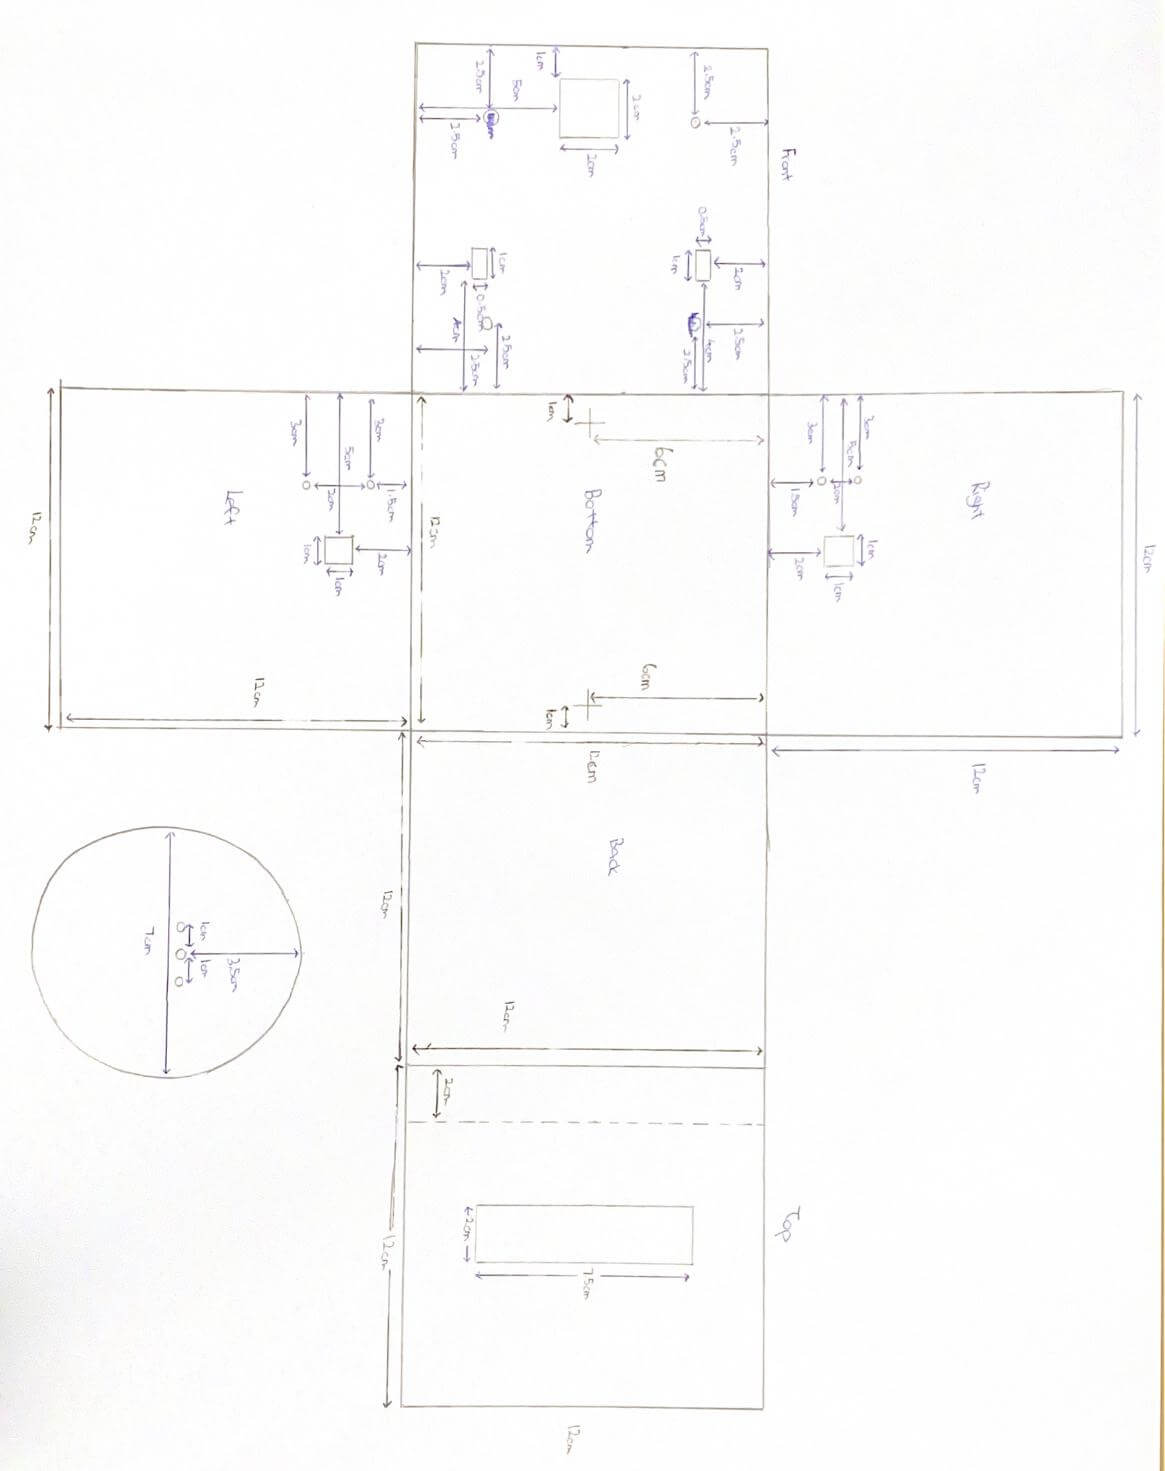
Core Unit Template
We created the core unit template so that users to cut and assemble the robot with greater ease.
Photos
We have physically build the prototype.
| Photo | |
|---|---|
| Side | 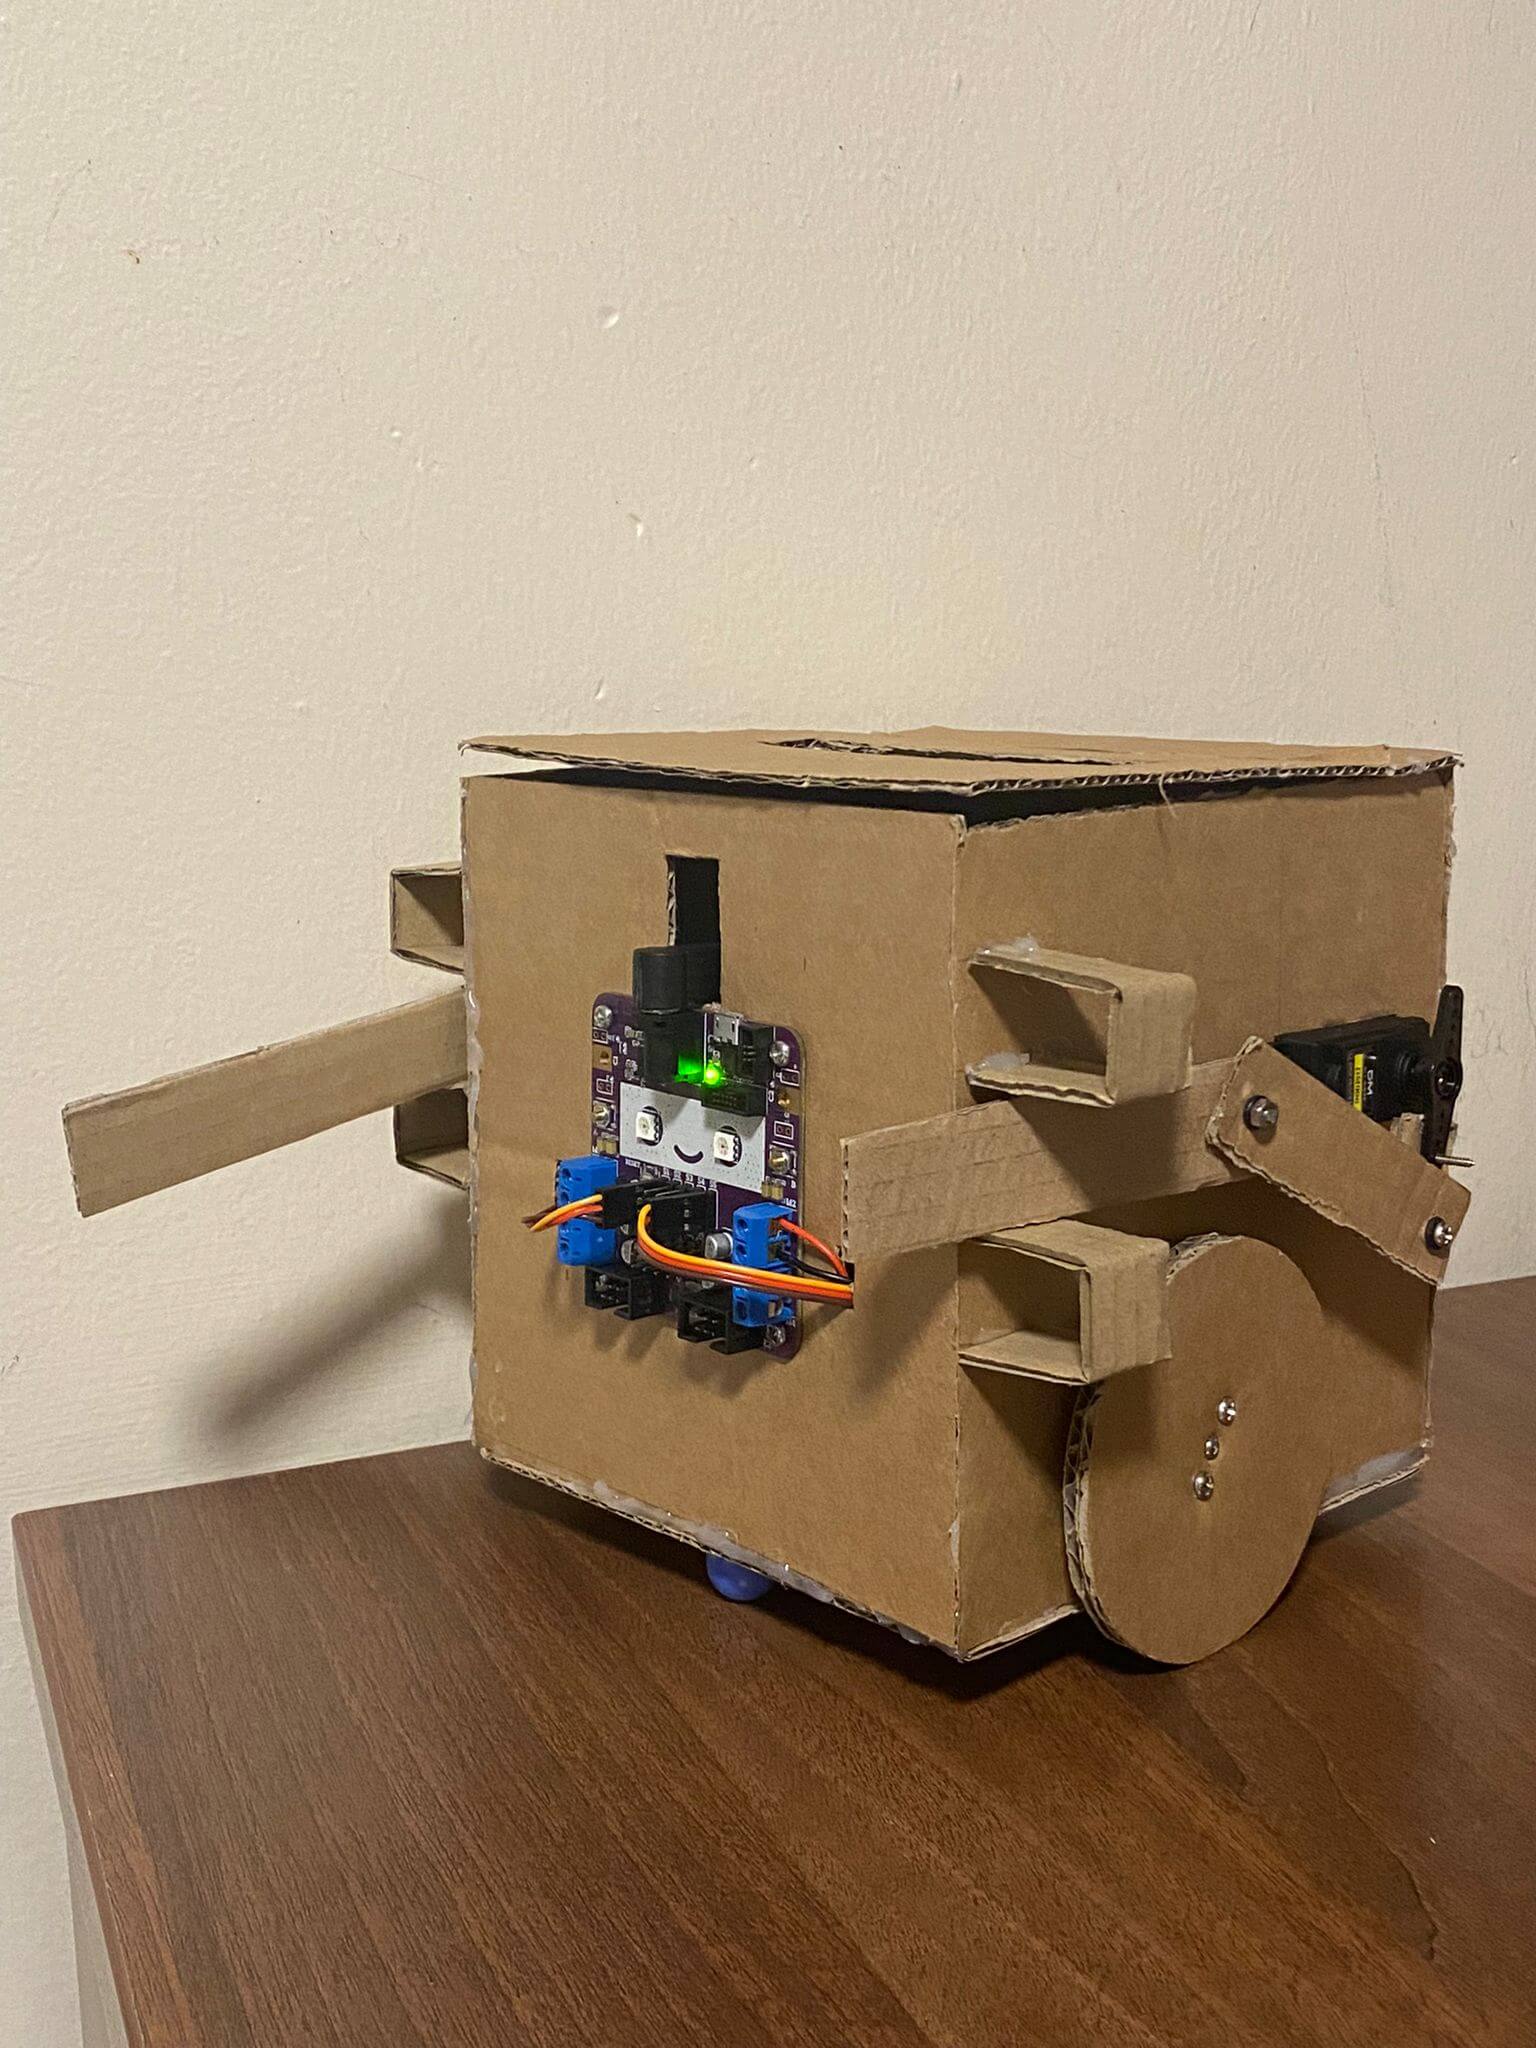 |
| Front | 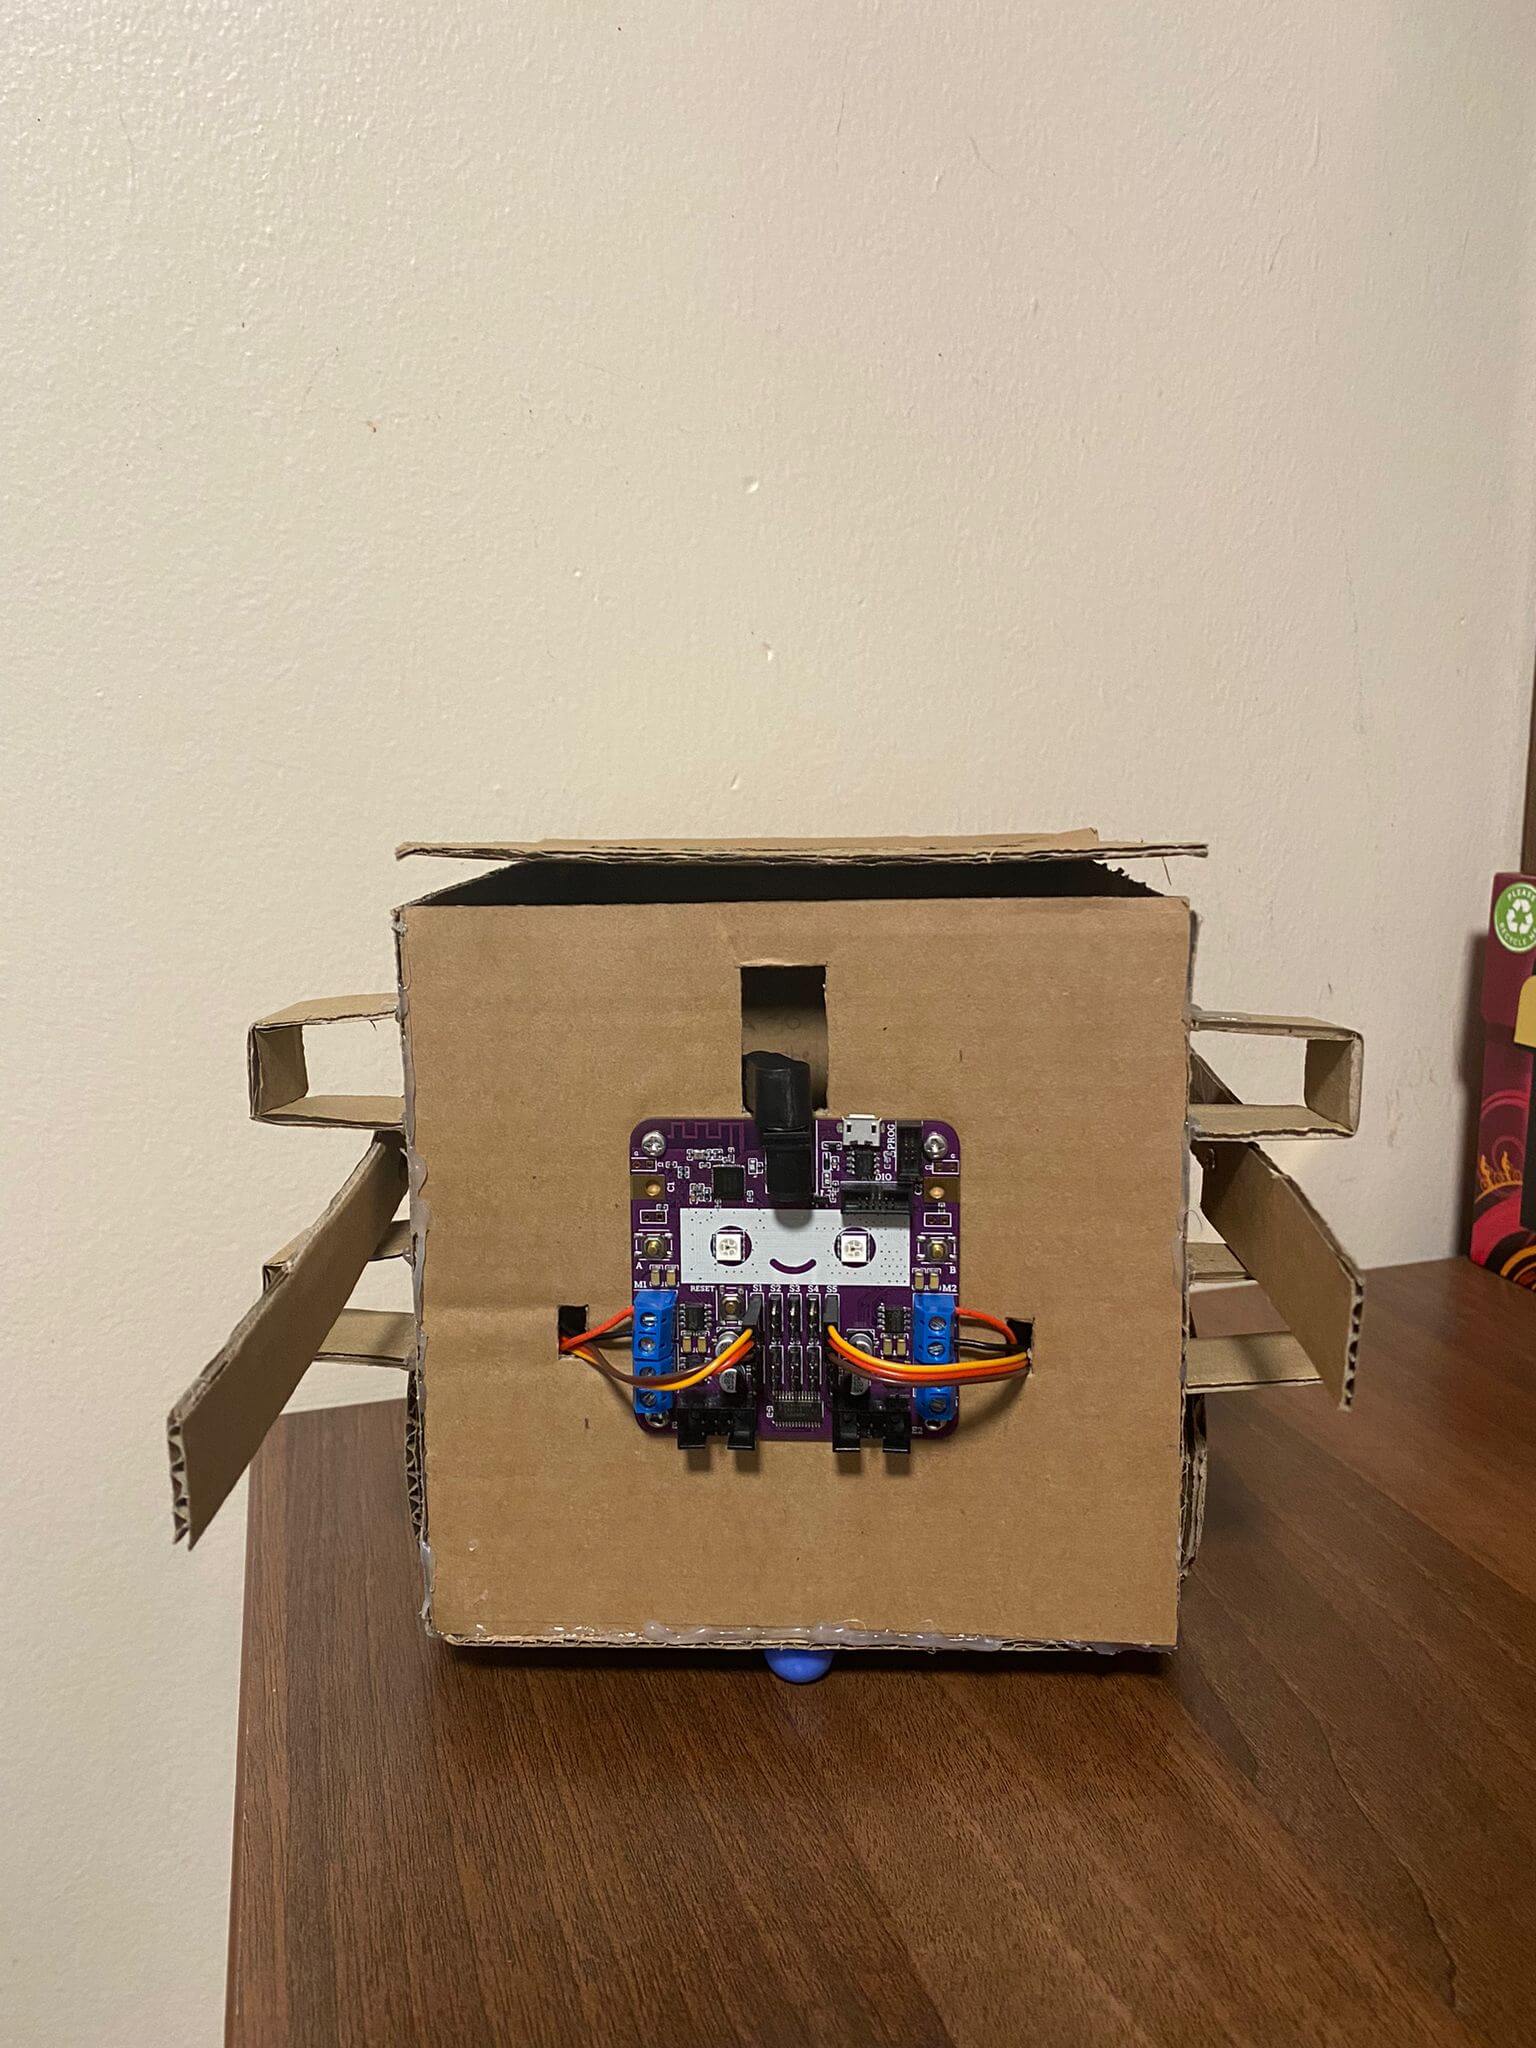 |
| Back | 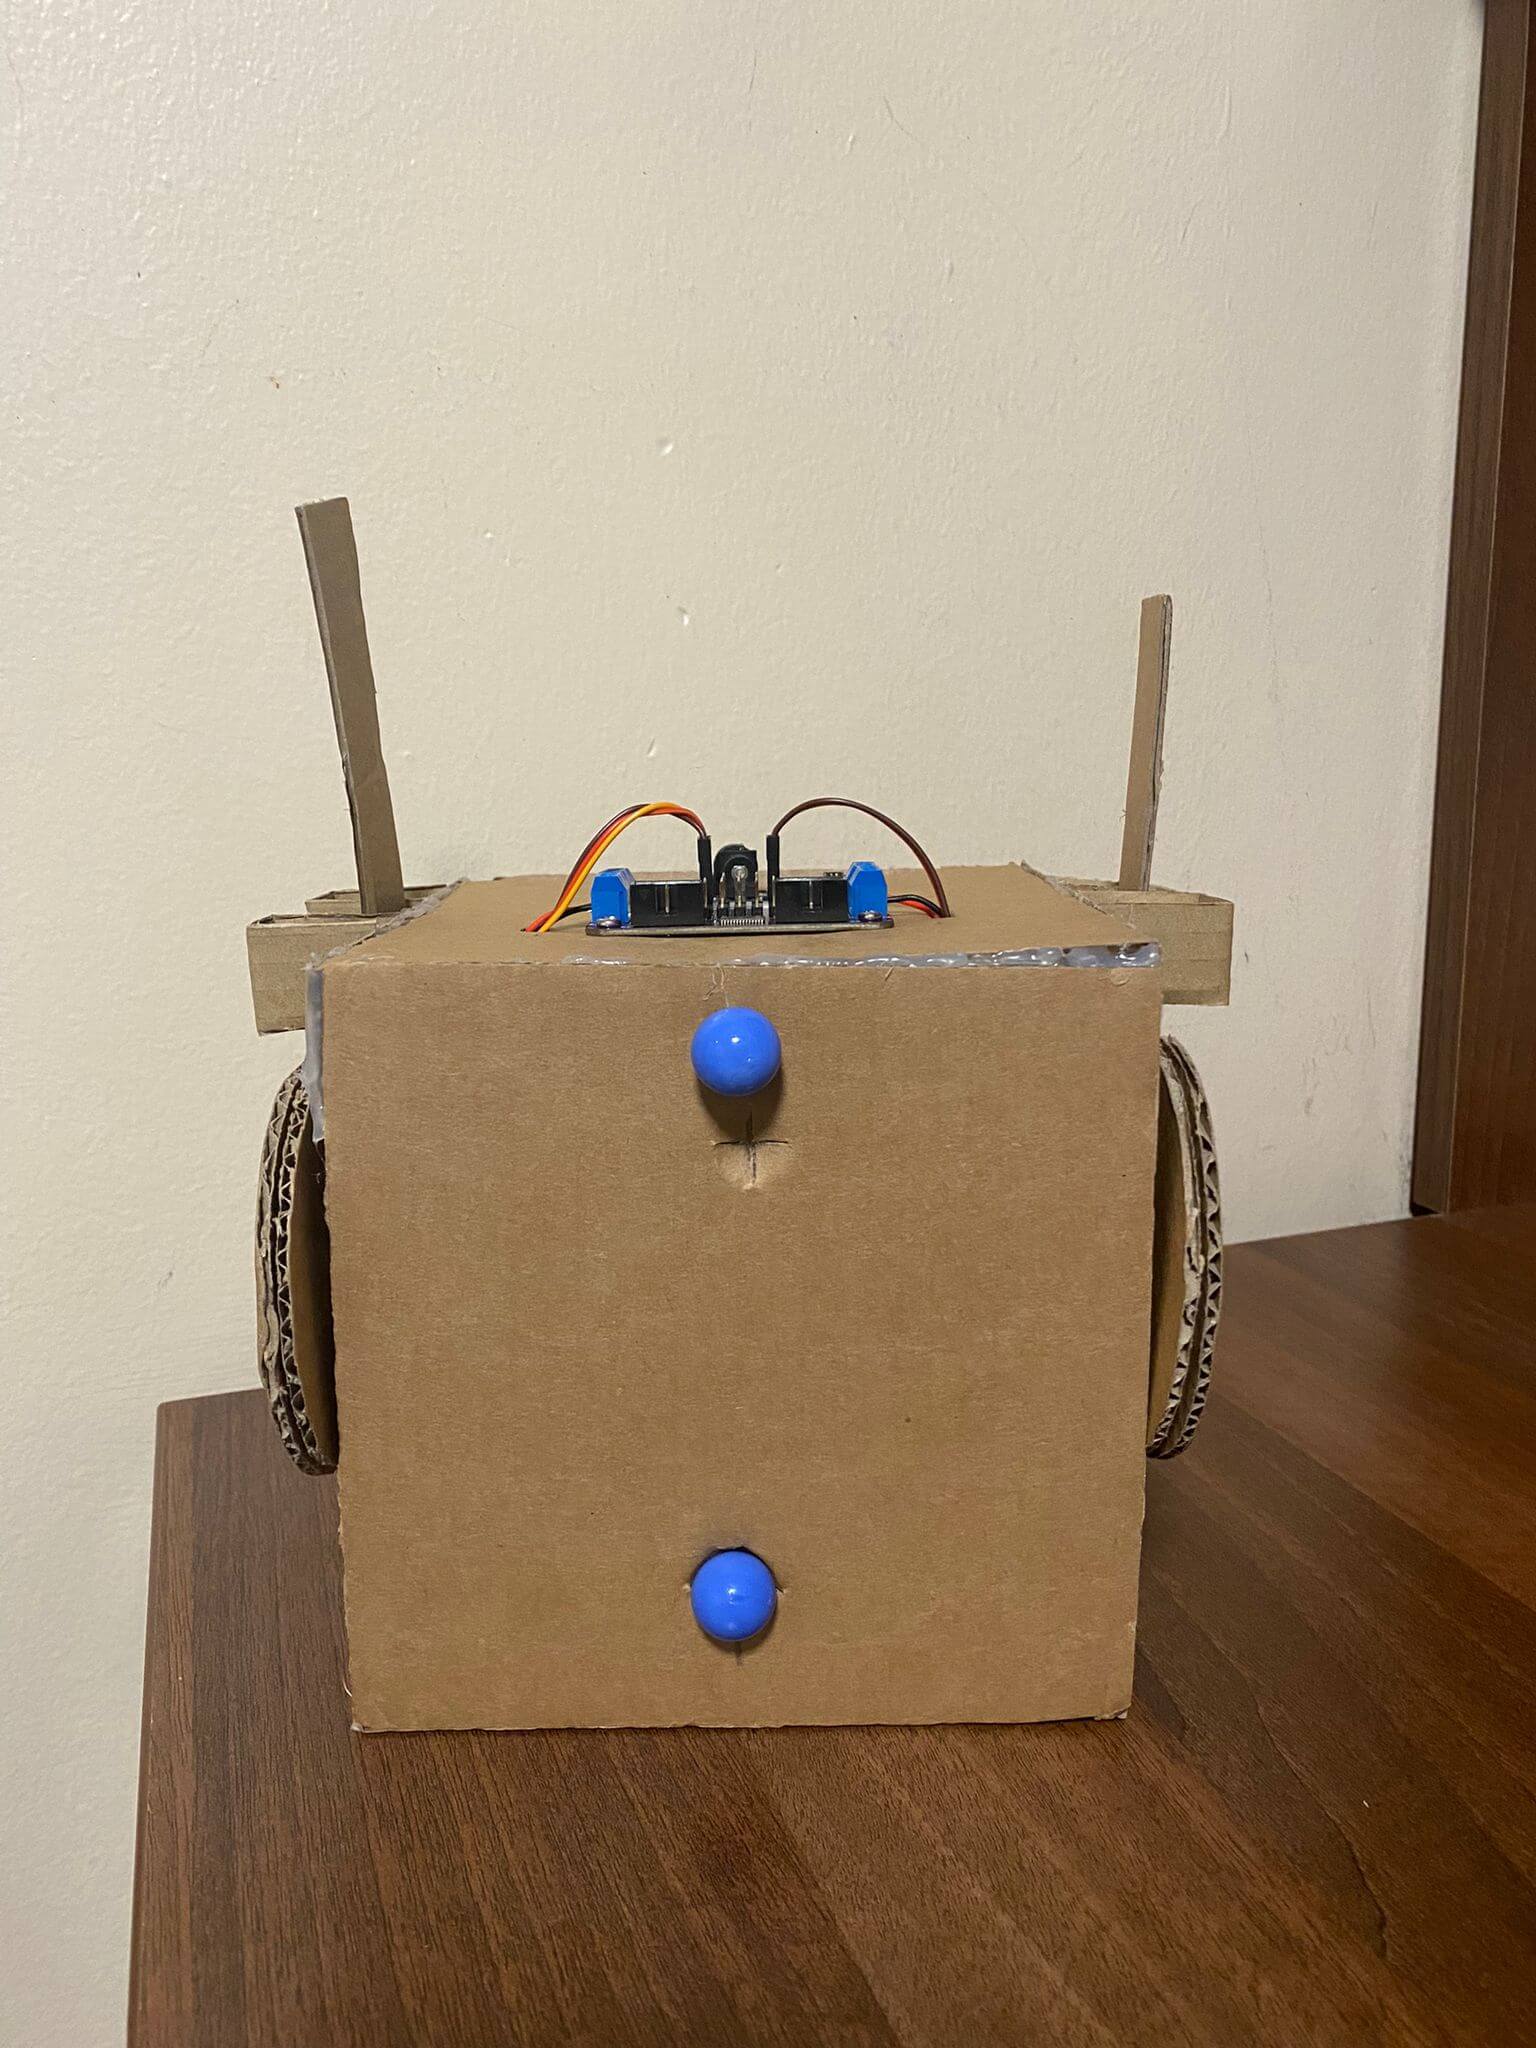 |
| Left | 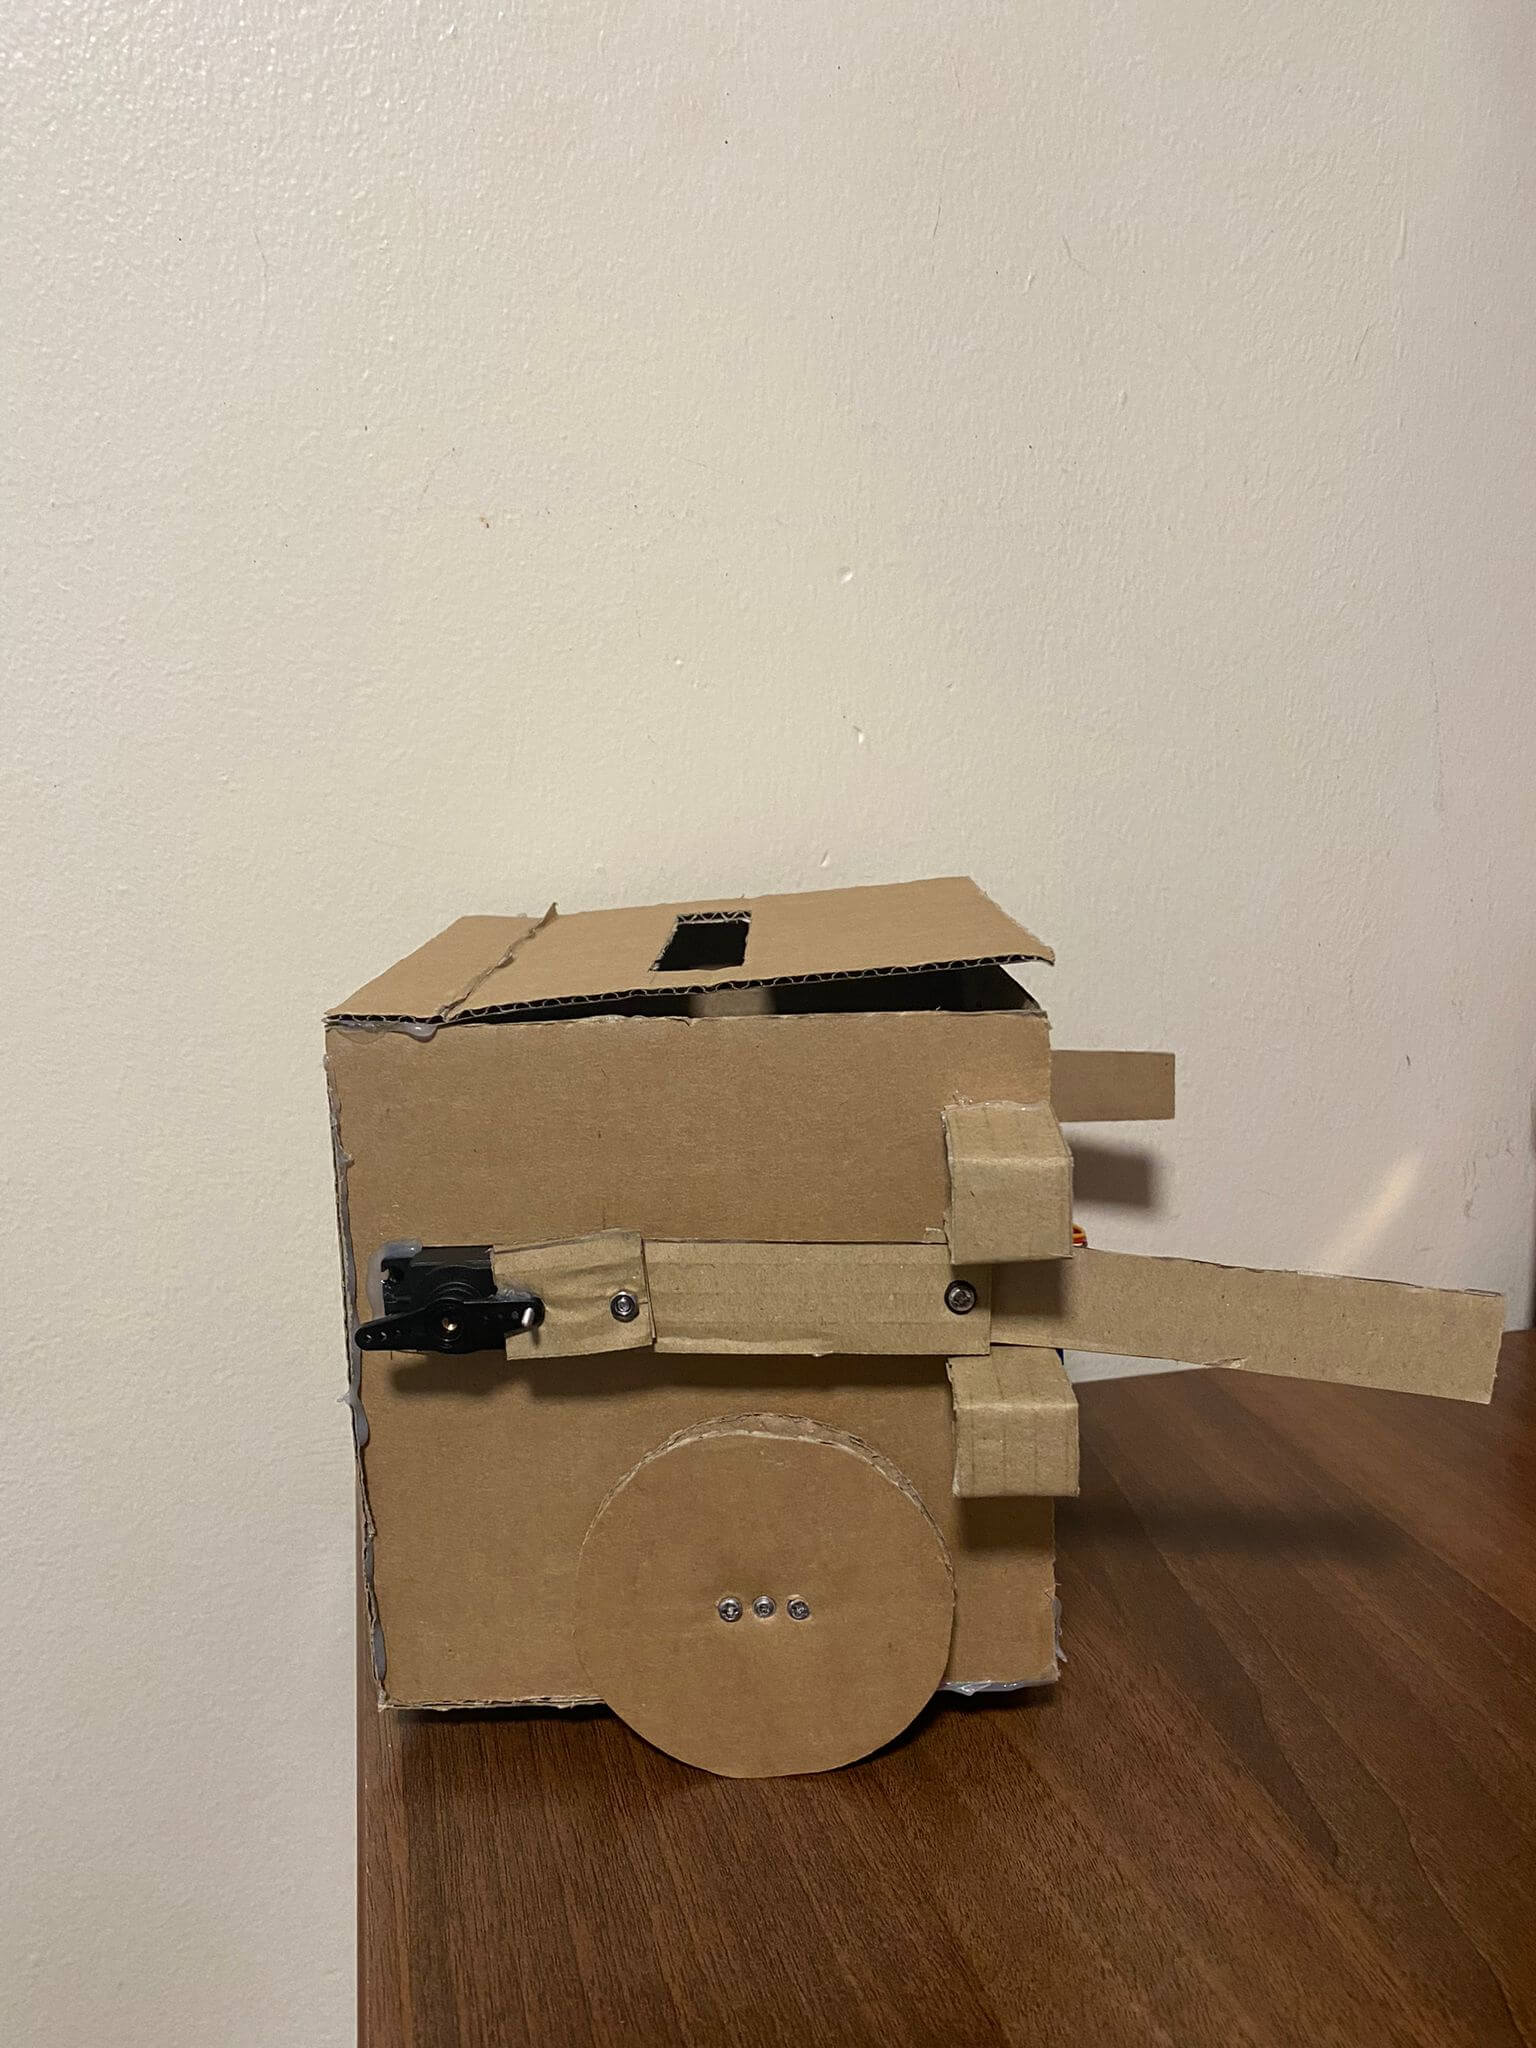 |
| Right | 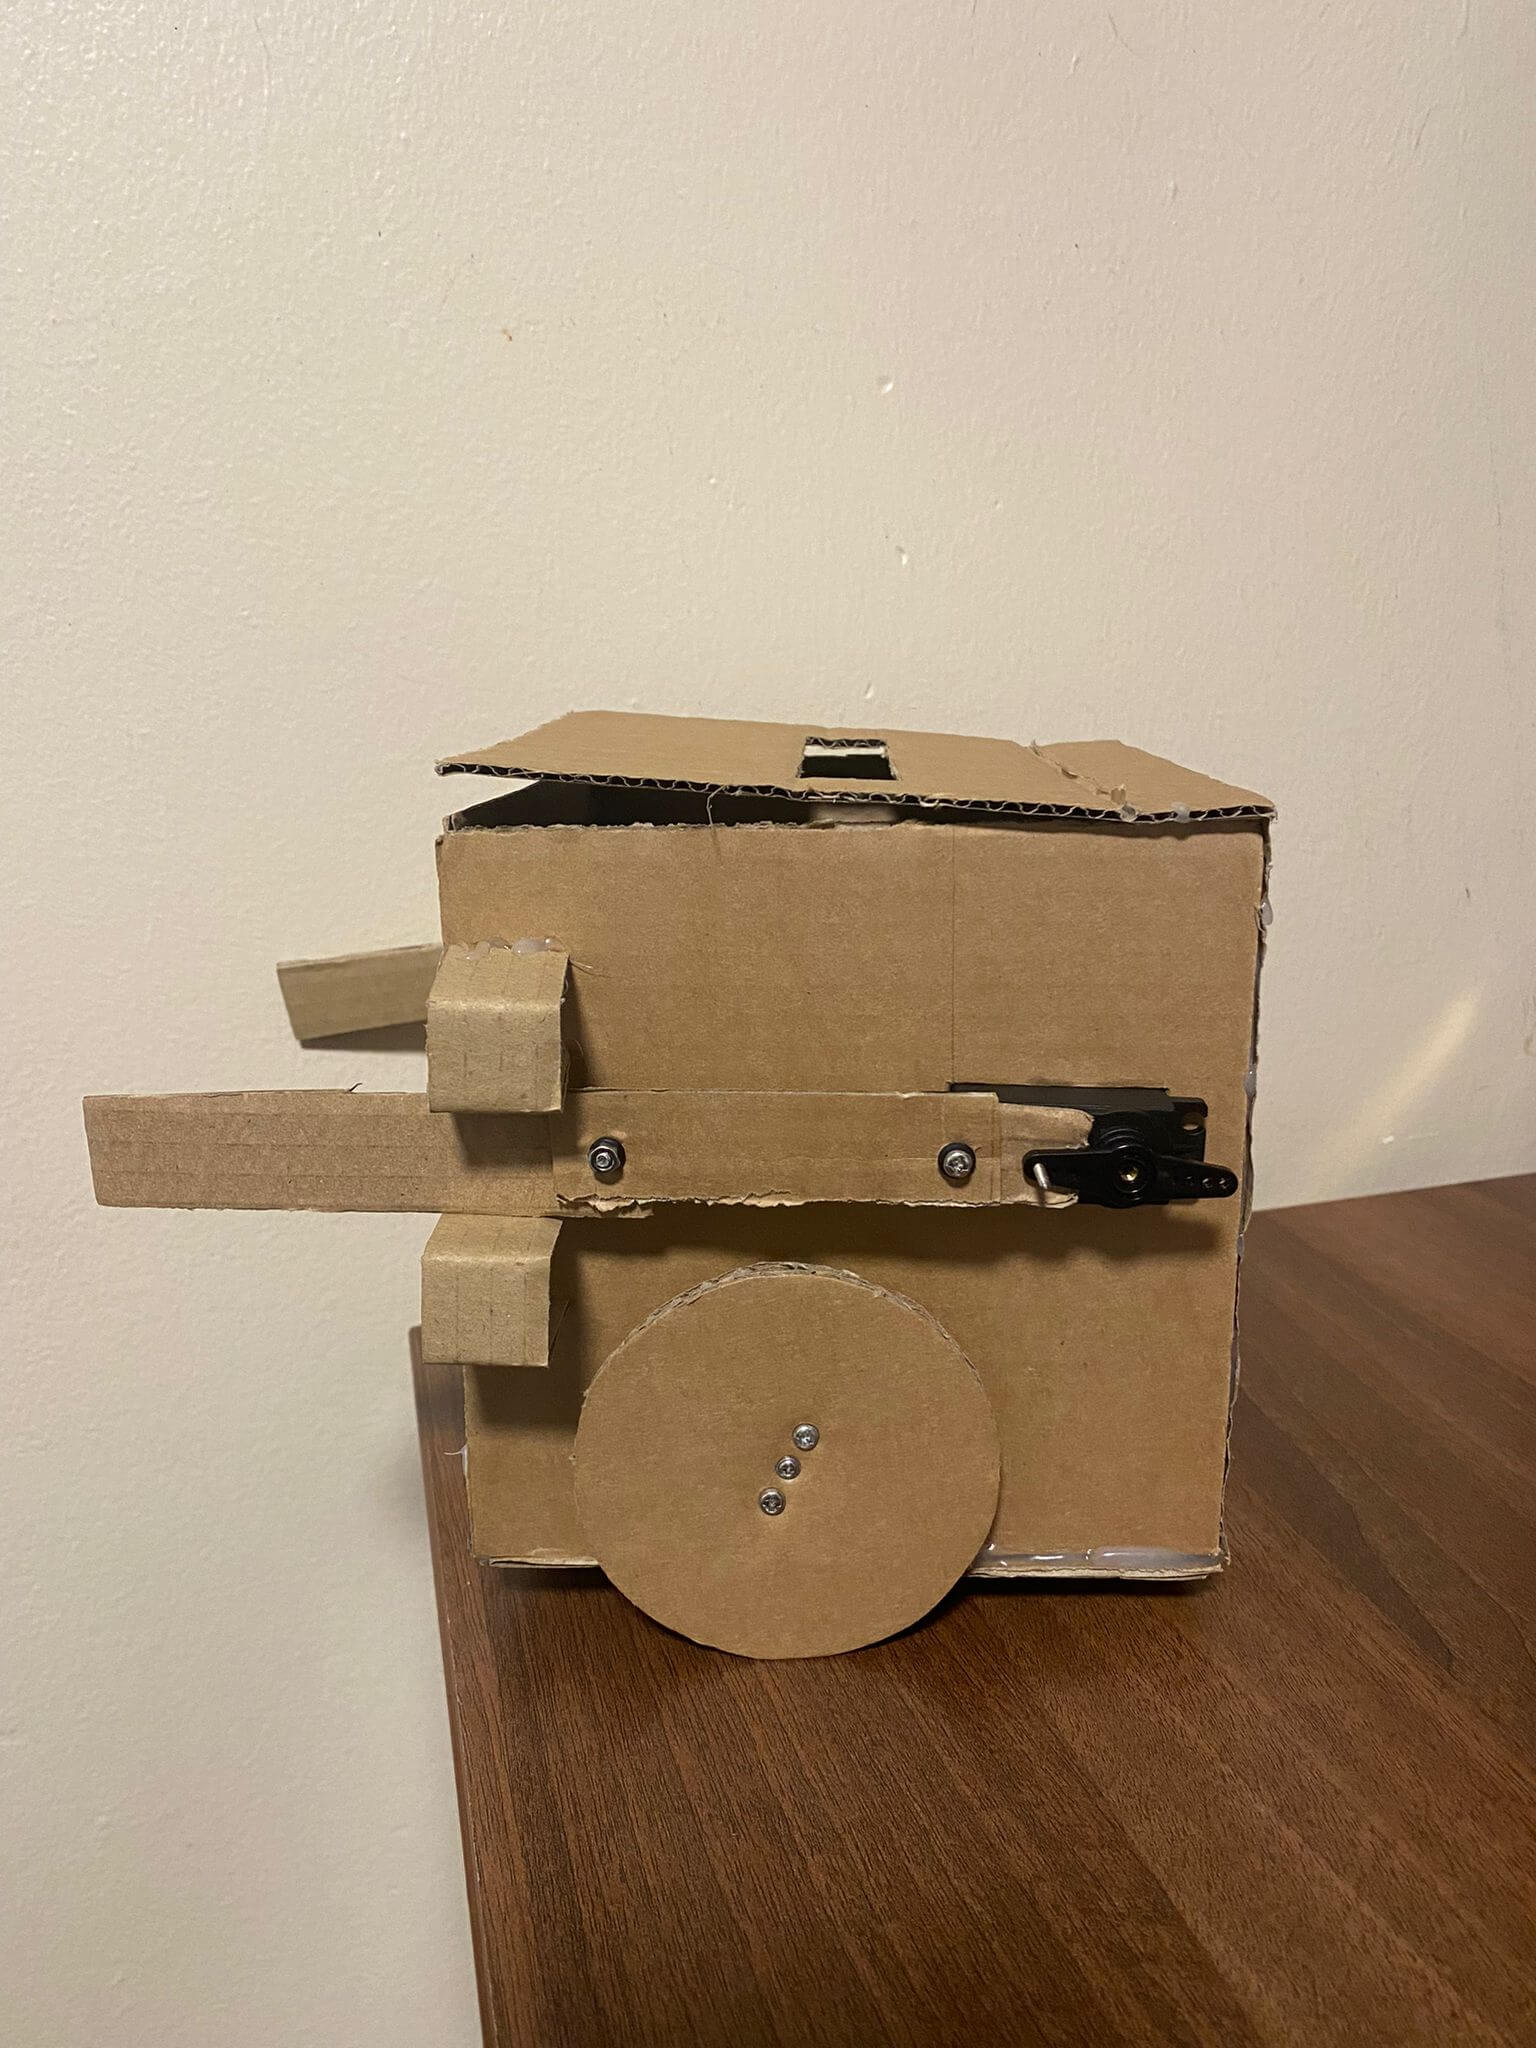 |
Tutorial Video
This is a tutorial video showing how to build this prototype.
Core unit Video
The video shows that the core unit is stable enough to move in all direction despite it being more compact.
Attachment Video
The video shows that the knife attachment being controlled by the smartibot.
Usability Test
Click on the image to play the youtube video.
The usability test employed will adopt the think aloud approach where the user will be sharing his thought process out aloud while operating Educraft. For this test, we have come up with an activity where the user is required to move the robot to a certain distance and will need to knock down the bottle using its arm as fast as possible. User is not limited to only "stab" the bottle and is able to "slap" the bottle as well. Prior to the test, the user is given an overview of the Educraft bot, some time to play around with the controller to better understand how it works and then required to perform the task of hitting the bottle down while expressing his thought process.
After test questions:
- How do you find the controls and the robot in general? Was anything confusing in the design or the operation in terms of its turning and speed?
- is there any feedback on the usage, do you feel it was an easy task to perform?
- in addition to that do you think if undergraduate students who are learning programming ,learn how to assemble such a bot to learn programming be something that will aid their learning?
- Is there any comments or feedback that will be good to incorporate into Educraft to make it better?
Reflection: User mentioned that it was easy to operate the bot to move around and turn it. The arms were made of thin cardboards so the user faced challenges to topple the bottle over where in the first attempt he "slapped" it where in the second attempt he tried to hit it down. Even though it looks like he required several attempts, the user did not move away from his seat to see if the arm was in line with the bottle to topple it over as such, resulted to the challenge the user faced. Nonetheless, the user was still able to perform the task easily. Some learning points: Include in our guide/tutorial we can tell users to explore exploring using other forms of materials like plastic bottle or multiple layers of cardboard to make it stronger if that is what the student is aiming for. Ultimately, we the usability test, displayed the effectiveness of the operation of the Educraft and that we should continue seeking inputs from various users to constantly improve on Educraft to ensure that it remains affordable and facilitate learning for undergraduates.
Learning points
This prototype successfully fulfills our goals of affordability, versatility, and sustainability. However, the design is more complex and may require additional effort to build. To make the process easier for users, we provided blueprint-like templates using cardboard pieces or 3D printable files. This will allow users to cut and assemble the robot with greater ease.


